Sunday, January 13, 2013

One Step Closer

Thanks! to everyone that has been able to come out and help! We really do appreciate it. This week we were blessed with help from family and friends. We were able to get our concrete foundation "footers" poured for our main support beam that we installed last week. We were able to reinforce and mostly rebuild the stairs to the basement. They had pretty much rotted away! We were able to get the kitchen joists lifted to "level" and the bathroom is "level".(Big thanks to A and M! for coming from NC to help!)


We mopped the upstairs multiple times with bleach/water and soap (Thanks uncle D!) trying to kill the obnoxious cat urine odor, tore out the bathroom tile (as part of the lifting project, Thanks P!). We were able to reroute, and plan some wiring fixes (Thanks Dad!)

I was HORRIBLE about taking pictures this weekend as I spent most of the time on the back in the mud under the stairs! or on my knees in the mud on the concrete, or, well you get the idea, it was muddy!

We have had GENEROUS gifts for building supplies, and I know that a lot of people are still looking. We REALLY appreciate all of those supplies. Possibly will have someone willing to help out on the water heater, which would be a huge blessing.

The "girls" all stayed home this weekend (except #2 who wanted to hang out at the new place) and packed. #2 boy was the little man of the house and apparently had a good time playing with his nieces. I am so blessed to have a family that has helped through this "crisis". I am so thankful that things have turned out the way that they have. We are growing closer, developing stronger relationships and learning to trust. It's fun. Thanks again to all! What a blessing you have been to us!

For those that asked....

Update on the chimney/fireplace. Looks like it's going to be big bucks to get the fireplace up to "snuff". More money than we want to spend on it at this time. The point of fixing it was to help heat the house this winter. Of course, being strapped for funds, and having received an estimate that is way outside of our ability to pay, I started the DIY research on chimneys, fireplaces, etc. Apparently, and had I just thought about it sooner it makes sense, the fireplace is net heat LOSER and not what we need anyway. So, the focus has changed to a wood stove insert which which actually help to heat the house, and still be within reach if I can find a used one that work and ran the liner up the old chimney myself. Know anyone has one setting in their barn or garage? :)


Tuesday, January 8, 2013

Update and Thanks

To all of you following the blog, sorry that I haven't posted recently. We were very busy last weekend, and this week has proven to be busy as well which I am very thankful for, we needed the work. We worked on adding in the structural support that the house needs this past weekend. We were blessed with help from friends and family that made the work a lot easier, and fun! 


As you may recall, there was a foundation issue that I took a picture of, you can see it again here to the right. This was caused by the removal of a wall on the main level of the home at the stairwell. This is pictured to the left. All that extra weight forced the floors down in the center of the home with no foundation to support it.


SO.... We jacked and jacked and jacked the house until we were able to get three 2 by 8s placed between two foundation walls in the basement. We still have another 3/4 of an inch or so before we are level, but we hope to work towards that this weekend. I'm going to need to dig three holes in the concrete/dirt floor and set three small footers for support posts for these columns. Hoping to get that done this weekend with some help.


We were also able to remove the remaining plaster from upstairs that needed to come out, remove the remainder of the mouse-urine-soaked baseboards and get some clean-up done. Thanks to everyone who came out to help! It was so appreciated.

We are starting to work out the wiring in the house and move some boxes around and correct small problems. Fortunately, most of the wiring seems sound, and it is at least updated and modern.  We might have found a good source of stone for the fireplace repair, will know more on that on Friday.

If you'd like to come out this weekend and help, please let us know. We will be out on Friday, Saturday and possibly Sunday. We will try to leave a key for anyone that would like to do something when we are not there.

Brian


Friday, January 4, 2013

Materials Needed

People have asked what materials we need.  This list is a pretty good idea.  Not included is other things that would be very helpful but are more costly, like windows, soffets, etc.  Estimated funds needed for these things is ~ $2000 (this does not include the needed windows, etc, just what is on the list below).
  • -15 sheets of 1/2" drywall
  •  -3 sheets of 5/8" fire rated drywall
  •  -2 sheets of 1/4" drywall-large bucket (5 gallon?) joint compound
  •  -4 rolls repair drywall tape
  •  - lots of corner metal for drywall (100 feet?)
  •  - drywall tape knife(s)
  •  -1 bucket drywall screws
  •  -2 bags plaster
  •  - texture brush for ceiling
  •  - sanding sheets
  •  - sanding sponge 
  • -30 feet square galvanized duct for wall interior
  •  -3 8 inch diameter to square converter galvanized duct junctions
  •  -3 90 degree galvanized duct junctions ---square to square
  •  - 60 8" square glass blocks (for basement windows 
  • -20 concrete blocks 
  • - 2 bags white mortar 
  • - 2 bags Portland cement 
  • -2 rolls R-19 insulation - faced
  •  -30 bags (bricks) of cellulose blown insulation
  •  -6 cans spray foam insulation.
  •  -2 rolls 1/2 inch Pex plumbing line
  •  - pex tools (borrow)
  •  - kitchen counter tops 
  • cabinets - may already have from friends?
  •  - 3 16' 2x8's 
  • - 4 basement support posts 7' tall
  •  -bucket of framing nails 3"
  •  - roll of 4 mil plastic 
  • - various windows - will update
  •  - 200 feet 6 inch baseboard trim
  •  - 200 feet 3 1/2 inch trim
  •  - 2 five gallon buckets primer (paint)
  •  - paint rollers/poles/trays
  •  - floor sander(rent) ~ floor polyurethane
  •  - propane water heater

Tuesday, January 1, 2013

More demo - solving problems.

As is often the case, when tearing things out you get to find the mistakes that other people made. Like this one...

Sunday, December 30, 2012

Grand Parlor reboot

The "grand parlor" had been "renovated" by the previous owners. I don't know exactly what the style was that they were going for. They went through the trouble of removing the lath and plaster from the ceilings and exterior walls, removing the blown insulation, installing fiberglass insulation, etc and then put ceramic tile (previous post) on the floor and tried to make a cathedral style ceiling. Things were done pretty poorly, so we tore out the ceiling and the build around the fireplace. We revealed a beautiful original brick fireplace that is truly something to see. It is clearly designed with the basement fireplace to heat the house. One more step of destruction towards getting things back to the way they should be. Some of the brick work is broken and needs repaired. If you know anyone who has worked with brick that would be willing to help repair, please let me know.

The boys and I will be headed back tomorrow (Dec 31) and probably Tuesday ( 1/1/2013!) to do some more demo. Hopefully we can start the floor jacking tomorrow as well, but we will see.

Anyone wanting to help out, just let me know. We need general labor right now to finish the demo and prep for new materials.

Thanks for looking.


Saturday, December 29, 2012

Finally - Oodles of Photos!!!

Front of house from driveway
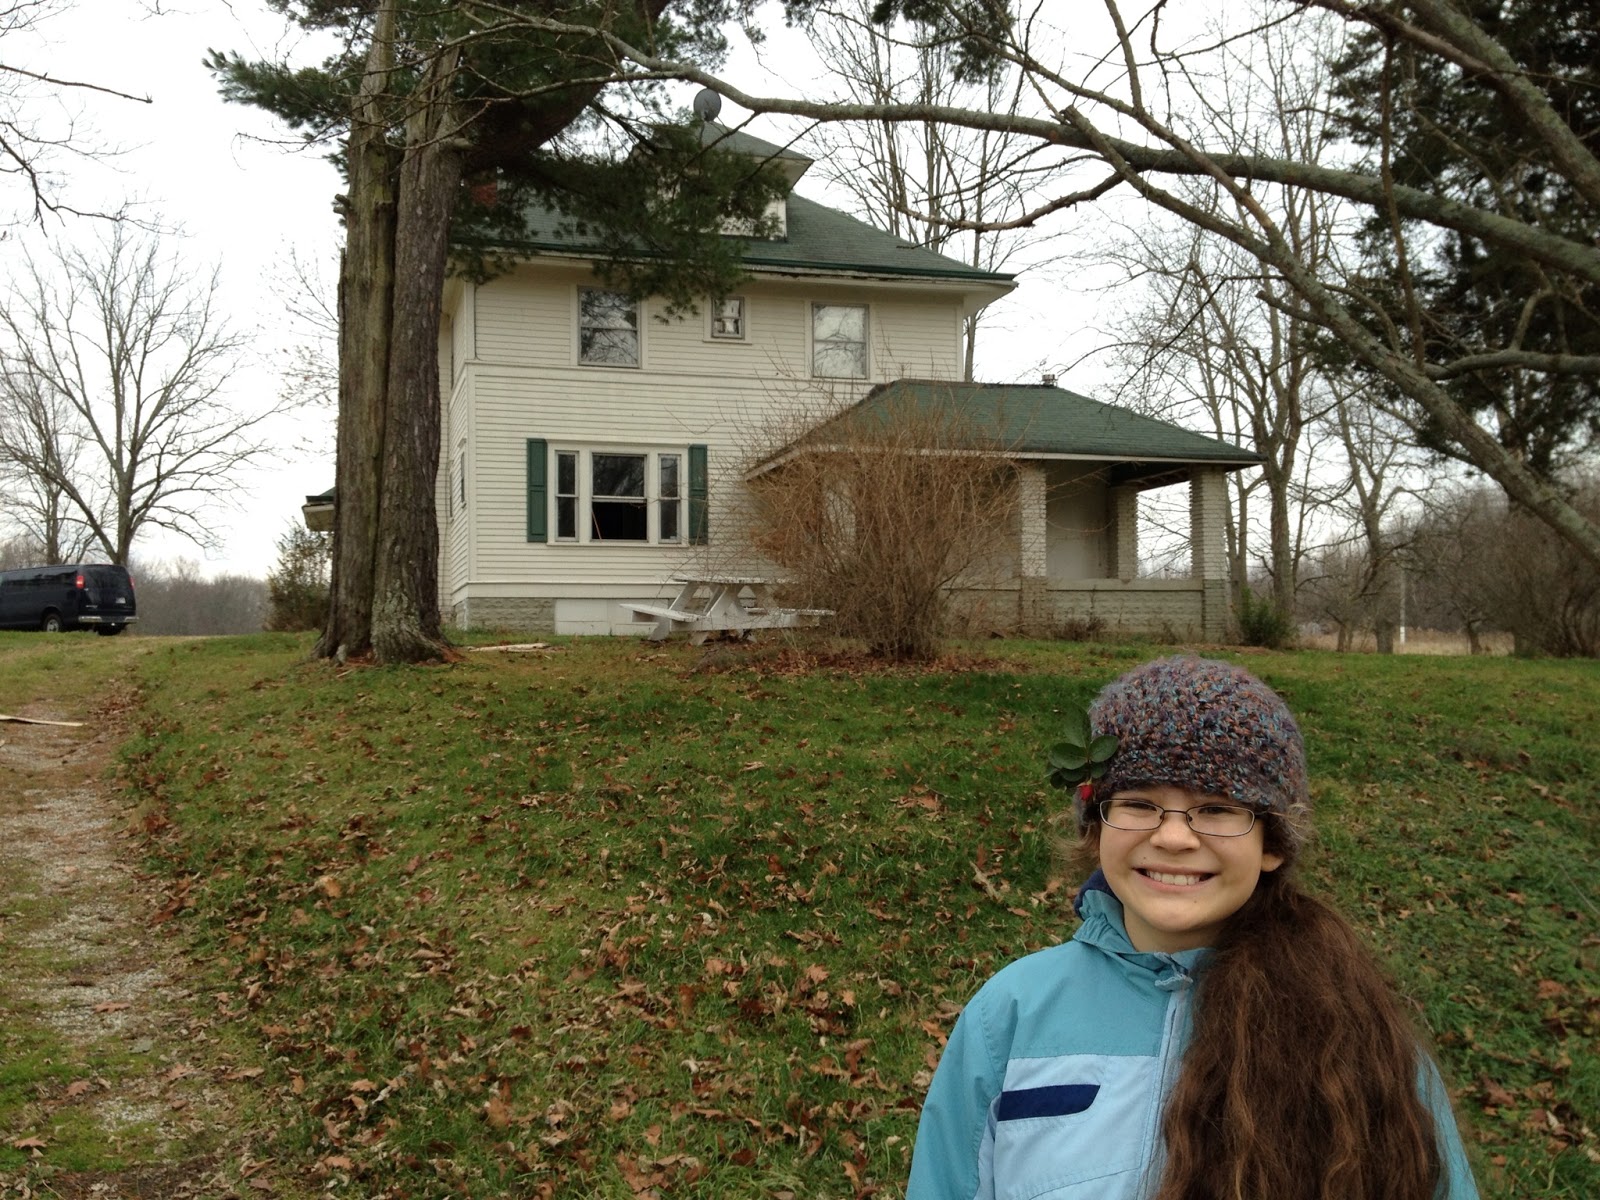
Most of these blog posts are done by Brian, but this is Lindsay here.  When we went out to the Quincy house two weeks ago (which was the first time I actually set foot in the house!), I took a lot of photos with my phone.  But when I tried to put them on the blog I ran into all kinds of trouble due to my hoarding too many photos and videos on my phone, and the fact that 2 of our computers crashed - sheesh!  So, after much ado, I am finally able to post these here.  My phone has been uploading photos to Google+ for an entire week, but it's finally finished and - viola! - here they are.  I wish I had more detailed photos of some things, but at least there are many photos of the property and the house - inside and out.  I know these are things many people have been waiting to see, so - here you go!


View from front porch facing east

View from front porch facing north
Front (north side) of house

Woolly worms!

Back side (south side) of house

east side of house

Tree climbing adventures galore

looking out over west end of property

lunch break on the back porch

Multiple tree stands on property (aka FORTS)

All I could think was "this is a photographer's playground!"

creek on property

looking at house from west end of property

The girls are quite happy with the new stomping grounds


Standing in kitchen looking through to parlor

kitchen with rear porch/laundry room off to right

looking into dining room from kitchen

looking through dining room to parlor and front porch

The grand parlor

Looking through parlor and dining room; coat closet at left

stair well

looking from stairway down into parlor

southeast bedroom

roughed-in second floor bathroom

southwest bedroom (aka the CAT room - yeck!!)

Master bedroom (northwest bedroom)

northeast bedroom

stairs to attic (previously bird infested)

large attic

more of attic

stair landing

Kids find adventure everywhere :)

south side of house

front porch glory  :)

Wednesday, December 26, 2012

Demolition Continues

Parlor - Before


This past Friday and Saturday we worked at some of the demolition work needed on the main level. I found out that the water heater does not work, so we will need to get that replaced before we can clean with hot water. On Friday Andrew and I tore out the tile in the "grand parlor". He was a great help! We tore out the floor and threw the tile into the back of the old truck to be hauled away eventually.


Parlor - After


Once the tile was completely torn out, the floor looked much better and the dip in the floor at the bottom of the stairs was not nearly as pronounced. The brown tile that surrounds the fire place is original to the home, assuming that the wood flooring is original. We opted to keep that. I think that it will look really nice once we sand it out and refinish it. When we pulled off the trim around the tile I found at least one mouse nest location as well as some mold surrounding the front door due to condensation where they never sealed the doorway when the previous owners "rehabbed" this room.


Kitchen - Before


Boys like to burn stuff
Aaron and Beth came by on Saturday to help with tearing out the old kitchen cabinets. The counter top was more of the same tile that had been used on the floor. We just broke it up and burned everything. The original kitchen floor, which you can see in this picture, was torn out  with the help of our three boys.


Kitchen sub-floor and under-lying sister boards


Once we got past the first layer of flooring, the sub-floor  had to come up to remove the sister boards that the previous owner had put into place. They basically tried to level out the kitchen floor with these additional boards by simply nailing them up higher and higher. I want to try to level the floor out as much as possible using jacks, so these sister boards had to go along with the sub-floor over them.


Kitchen - After


Here is the final picture for Saturday.  There were hundreds of nails holding those sister boards in place, so it took me about an hour to pry them all off. We won't be out to Quincy again until later this week or this weekend, so hopefully the pipes don't freeze before we get back out. Thanks for looking at things! We hope everybody had a Merry Christmas - we had a great time at the "old" house in Noblesville.